Behind the Scenes · March 2026
How We Made the Golden Gate Bridge Plaque
From sketch to engraving — a full walkthrough of our design process.
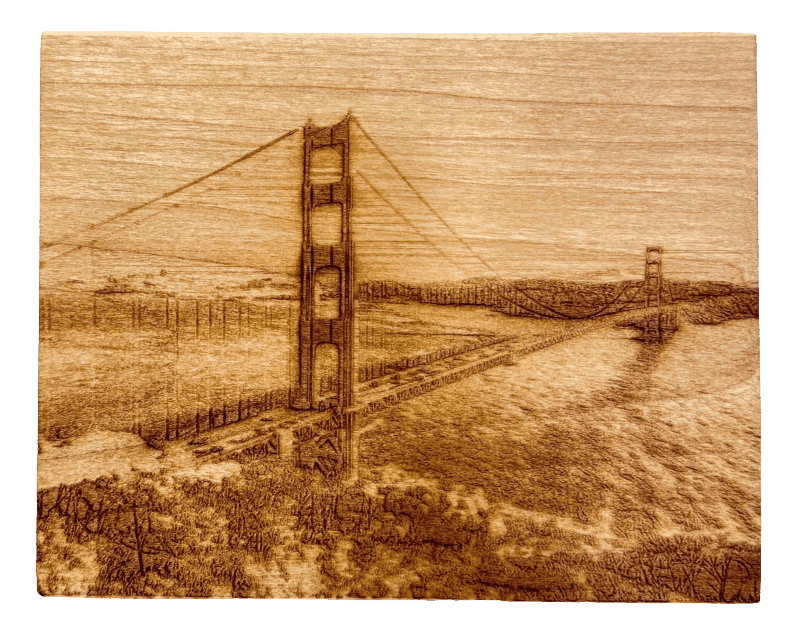
Every plaque starts with a problem: how do you capture something iconic in a few millimeters of burned wood? The Golden Gate Bridge took 3 iterations before we felt like we had it right. The towers needed weight. The cables needed to be visible. The water beneath had to read as water without becoming noise.
We start every design in Adobe Illustrator, tracing from reference photos and simplifying down to what the laser can actually render cleanly at small scale. Fine detail looks great on screen and disappears on wood — so the art is really in knowing what to leave out.
The art is really in knowing what to leave out.
Once the vector is dialed in, we run test burns on scrap pieces of the same wood stock. Every board has a slightly different grain density, which affects how dark the burn comes out. We adjust power and speed until the contrast feels right — not too burnt, not too faint.
The final step is hand-finishing — a light sand to knock back any char smell, then a protective sealing spray to help the engraving last and stay sharp. We only ship it to you when we feel it is good enough to display in our own home.